
Mount Shasta Altitude Guide: How to Prepare, Pace, and Perform at Elevation
A simple, science-backed approach to climbing strong at 14,000 feet without acclimatization
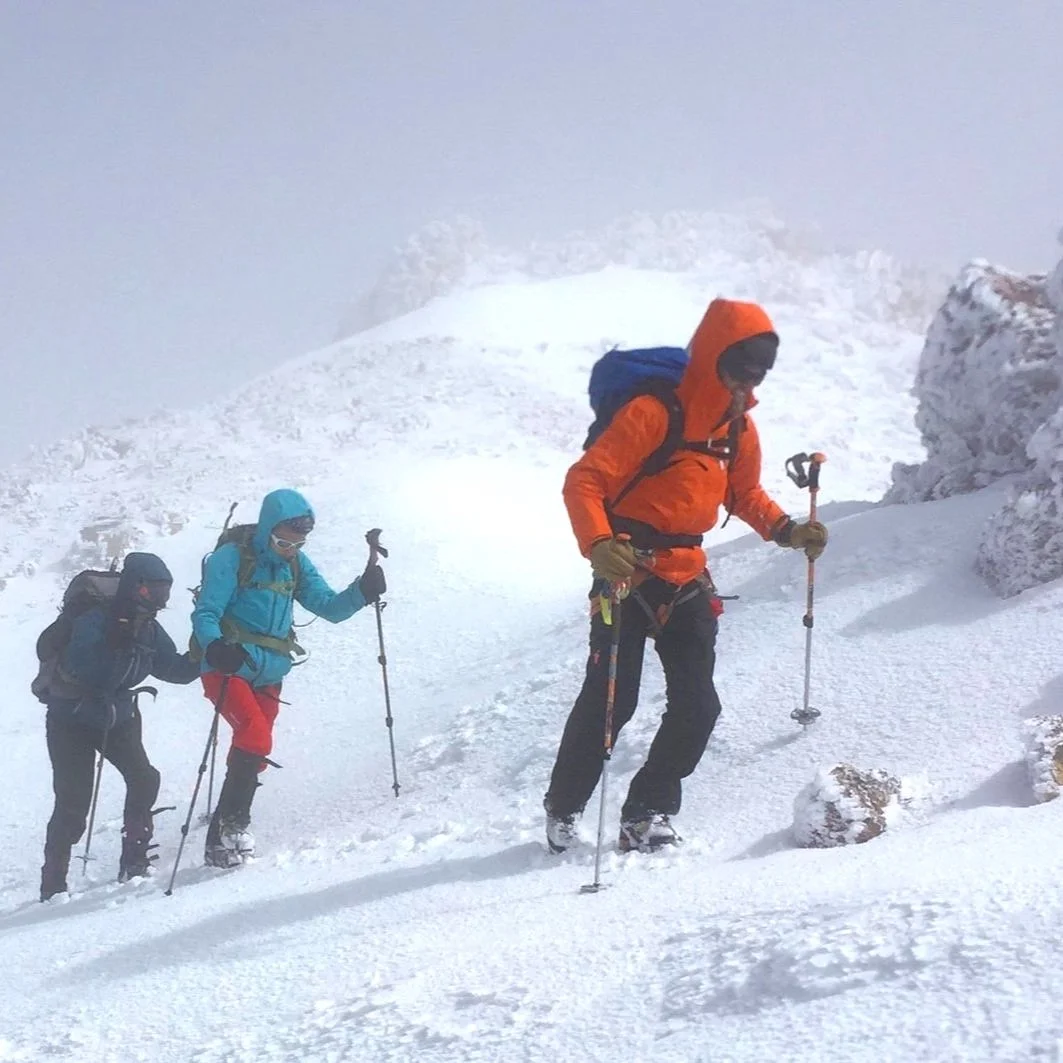
A team of climbers near the summit of Mt Shasta
Climbing Mount Shasta is a big objective for climbers of all fitness levels and experience, but for many, the biggest concern isn’t the climb itself. It’s the altitude. At 14,179 feet, it’s high enough to challenge your physiology, but accessible enough that most climbers arrive without true acclimatization.
That combination is where most people struggle.
Most Mount Shasta climbers go from low elevation to attempting the summit within one to three days. That is not enough time for your body to adapt to altitude. As a result, performance is limited, but there are often overlooked ways to improve your experience when the air gets thin: training, planning, pacing, breathing, and fueling.
The goal is not to overcome altitude. The goal is to work with it.
This guide breaks down the key strategies that actually matter so you can prepare effectively and perform well on the mountain.
Altitude is the biggest concern for most climbers heading to Mount Shasta, and for good reason. It’s unfamiliar, unpredictable, and hard to train for directly. But altitude is not something that just happens to you. With the right approach to preparation, pacing, breathing, and fueling, you have more control than you might think. Understanding that is the first step toward climbing with confidence.
The Reality of Climbing Shasta
Climbing to the summit of Mount Shasta requires just over 7,000 feet of vertical gain. Most popular routes begin from trailheads around 7,000 feet above sea level.
Most climbers:
Travel from low elevation
Start hiking from around 7,000 feet
Reach high camp near 10,400 feet on day one, often at a significant energy cost
Attempt the summit from there on day two
Climb too fast and rely on long or frequent breaks
Fuel inconsistently without a plan for sustained energy
This is an aggressive and often outdated approach that overlooks much of what we know about performing well at altitude.
At altitude:
Oxygen availability decreases
Heart rate increases for the same effort
Breathing becomes more demanding
Small pacing mistakes become big problems
Small tasks like eating and drinking become more difficult
Smart climbers:
Train a strong aerobic base to use oxygen efficiently
Plan their itinerary to control fatigue and support recovery, giving themselves the best chance at a restful night before summit day
Move at a steady, sustainable pace while climbing
Use deliberate breathing techniques to manage oxygen delivery at altitude
Consume enough carbohydrates while climbing to sustain mental and physical energy
Complement their training with frequent heat exposure for cross-adaptations beneficial at higher altitudes
Arrive at the trailhead rested and fueled. Don’t push higher than necessary on day one. A slightly lower camp often leads to better sleep and a stronger climb.
Sleep may be poor. That’s normal. You won’t acclimatize overnight, but good rest still counts.
Pacing: Why “Slow is Fast” at Altitude
The most common mistake on Mount Shasta is starting too fast.
This is especially true for fit but inexperienced climbers. Strong athletes are used to moving quickly at lower elevations and often assume they should maintain that same effort on the mountain.
At altitude, that approach fails.
When you push too hard:
Breathing becomes strained
You exceed your aerobic capacity
Fatigue builds quickly
You are forced into long, inefficient breaks
This leads to a pattern I see all the time: climb hard for a few minutes, stop for a long break, repeat all day.
This “dash & crash” method is one of the least efficient ways to move in the mountains.
A better approach is simple.
Climb at a pace you can sustain for at least 60 minutes without needing to stop.
That pace will feel slow. Often uncomfortably slow early on. That’s exactly where it should be.
At the right pace:
Breathing is controlled
You can speak in short sentences
Effort feels easy in the beginning
This keeps you in an aerobic state, preserves energy, and allows you to keep moving while others are forced to stop.
If you have to stop inside of 60 minutes, you are going too fast.
Break Strategy: Why Long Breaks Backfire
Many climbers rely on long breaks to recover. At altitude, that often makes things worse.
When you stop for extended periods, your system downregulates. Heart rate drops, breathing slows, and oxygen delivery decreases. Your body cools down, making it harder to get back into the work of climbing.
Above about 12,000 feet, long breaks rarely make people feel better. More often, they feel worse and struggle to get moving again.
Maintaining performance at altitude often comes down to limiting exposure by spending as little time high on the mountain as reasonably possible. Long breaks are a subtle way to turn a manageable day into a very long and uncomfortable one.
On a typical 12-hour climb and descent, you might take around 10 breaks. At 10 minutes each, that adds up to 1 hour and 40 minutes. If those breaks creep to 15 minutes, that’s 2.5 hours.
That is nearly an extra hour spent at altitude for no real gain.
When you look at breaks through the lens of efficiency and time management, it becomes clear why they need to be controlled.
Instead of long, passive rest breaks, use short, intentional maintenance breaks.
Keep most breaks under 5–10 minutes. Often closer to 5.
Use that time to:
Eat
Hydrate
Adjust layers
Make transitions and decisions
Then get moving again before your system fully slows down.
Short breaks taken regularly maintain momentum and are far more effective than long stops.
Breathing: A Skill You Need to Practice
The air at altitude contains the same percentage of oxygen as it does at sea level. The difference is lower atmospheric pressure, which means each breath delivers fewer oxygen molecules to your body.
At sea level, breathing takes care of itself. The combination of higher pressure and oxygen availability makes it easy to fully exchange air with each breath without thinking about it.
At altitude, that changes.
With less pressure driving oxygen into the bloodstream, breathing and respiratory strength become limiting factors. If you continue to breathe passively, you move less air with each breath and take in less oxygen than you need.
A helpful way to think about it is this: your lungs are capable of full expansion, but at altitude you have to be more intentional to actually use that capacity.
The climbers who move well at altitude are not just fit. They are breathing well.
There are three key components you should understand and practice.
Slow Deep Breathing: Your Default Technique on the Mountain
Most climbers rely on shallow breathing without realizing it. They work hard and breathe heavily, not recognizing that they’re putting themselves into unnecessary oxygen debt.
Instead, focus on deep, controlled breathing using your diaphragm. You should feel expansion through your belly and rib cage so you’re using your full lung capacity, not just your chest.
A simple way to structure this is step-based breathing:
Inhale for 2–3 steps
Exhale for 2–3 steps
This helps regulate effort and maintain a steady rhythm. Your exact pattern may vary, but as long as you’re breathing deeply and intentionally, you’ll stay more efficient and better matched to the demands of the climb.
Pressure Breathing: When Breathing Becomes Shallow or Labored
As the terrain steepens or altitude increases, normal breathing is often not enough. You’ll likely catch yourself feeling out of breath: breathing fast, shallow, and labored.
When that happens, it’s often because you’re not fully exhaling. Old air stays in the lungs, which limits how much fresh, oxygen-rich air you can bring in with the next breath.
The goal is to reset your breathing so you can return to deeper, more effective breaths.
Pressure breathing is a useful tool:
Strong inhale
Forceful exhale through pursed lips to fully empty the lungs
Think of exhaling like you are blowing out birthday candles.
This helps you move more air in and out of your lungs and stay ahead of the demand for oxygen. The forceful exhale also helps keep your airways open and improves overall ventilation.
You will likely find yourself using this above 10,000 to 12,000 feet, during steeper climbing, and even during short breaks to maintain your breathing rhythm.
Training Your Breathing Before the Climb
Most athletes do not train their breathing, but it can make a big difference.
You can improve lung capacity, breathing control, and diaphragm strength with simple drills.
Controlled breathing:
Inhale for 4 seconds through the nose
Exhale for 6-8 seconds through pursed lips
Repeat for 10–20 breaths
Progress to longer exhale times as you improve.
Step-based breathing during hikes:
Inhale for 3 steps
Exhale for 3–4 steps
Maintain for 5–10 minutes
Always focus on fully exhaling and inhaling and using the full volume of your lungs. Explore your lung capacity and breathing efficiency with these or similar techniques in training and at rest.
These exercises can improve blood oxygen saturation, respiratory strength, and your ability to stay calm and in control in training and high on the mountain.
Fueling at Altitude: Keep It Simple & Carb Rich
Smart fueling becomes more important as altitude increases.
Your body relies more on carbohydrates at altitude because they are the most efficient fuel when oxygen is limited. They are easier to use quickly and support both brain and muscle function when demand is high.
Focus on simple, easy-to-digest foods:
Energy bars
Candy
Gels or chews
Dried fruit (be mindful of fiber)
Simple sandwiches
Eat small amounts regularly, about every 30–60 minutes.
As a general guideline, most climbers who can take in 100–300 calories and 30–90 grams of carbohydrates per hour will maintain more consistent energy. This depends on body size and experience, but 100 calories and ~30 grams of carbs per hour should be your minimum.
With modern fueling options, it’s often easy to aim toward the higher end of that range.
To keep it simple, choose 10–12 foods you like that fall within these ranges and bring a variety. Eat more complex foods lower on the mountain, and shift toward simpler, faster options as you climb higher.
Avoid heavy or hard-to-digest foods. Keep fueling quick so your breaks stay short and efficient.
Practice your fueling strategy in training so you know what works for your body. Avoid experimenting with new or unfamiliar foods on the mountain.
Good pacing, efficient breaks, deliberate breathing, and intelligent fueling. If you get these right, altitude becomes manageable. If you don’t, it becomes overwhelming.
How to Prepare for Altitude Before Your Climb
This training method is often underutilized, but it offers the greatest benefit for climbers who don’t have time to fully acclimatize. Altitude itself is out of your control, so this method focuses on the factors you can control.
Build a Robust Aerobic Base
Your ability to perform at altitude is strongly tied to your aerobic fitness.
Climbers need to train frequently and consistently, and most of that training should be steady, lower to moderate intensity work. This doesn’t mean low effort. It means training long and hard enough to create fatigue, but not so hard that you can’t come back and do it again the next day.
Regular, steady efforts improve your ability to use oxygen efficiently and sustain movement over time. That becomes critical when oxygen is limited at altitude.
Specific Training
Practice the same skills you will use on the mountain:
Controlled pacing
Steep & sustained uphill movement with a pack
Breathing techniques
Fueling
Short, efficient breaks
Along with a positive mindset and efficient climbing technique, these are your most powerful tools on the upper mountain. The more familiar they are, the less energy you waste figuring them out during the climb.
Optional: Heat Training
Heat exposure may help by improving cardiovascular efficiency and tolerance to stress. It can increase plasma volume, which supports blood flow and may improve overall aerobic efficiency. It also provides a light aerobic stimulus, which can support recovery during training.
A simple approach:
Sauna or hot tub
20–30 minutes
3–5 times per week
This is not a replacement for acclimatization or the specific training mentioned above, but if the rest of your training is dialed, it can be a useful addition.
Optional: Training at Altitude Before Your Climb
Most climbers assume “altitude training” means pushing hard at elevation. In reality, it’s the opposite.
If you have access to higher elevation before your climb, the goal is not to get fitter. The goal is to get more comfortable and efficient in lower oxygen environments without adding fatigue.
A few simple guidelines:
Prioritize sleeping at altitude
Sleeping at moderate elevation has a bigger impact than training hard at elevation. If possible, aim to spend a few nights between 7,000 and 9,000 feet in the weeks leading up to your climb.Keep training easy
Altitude is already a stressor. Keep most sessions in low-intensity aerobic zones. You should be able to maintain controlled breathing and conversational effort.Don’t chase higher elevations
Spending time extremely high is not necessary and can backfire if it disrupts sleep or adds fatigue. Moderate elevation is enough to get meaningful benefit.Arrive rested, not depleted
More exposure is not always better. Showing up tired from altitude training will hurt your performance more than it helps.Short exposures still help
Even a few days at moderate elevation can improve how you feel and perform, especially if paired with good pacing and breathing on the mountain.
Altitude exposure can help, but it doesn’t replace proper training, good pacing, breathing, and fueling. Those are still the primary drivers of performance on Mount Shasta.
If you have the opportunity, spend 2–4 nights at moderate elevation (around 7,000–9,000 feet) 1–2 weeks before your climb. Keep activity light and focus on sleep, hydration, and easy movement.
Keep in mind that while this can be helpful, it’s not the most important lever. Prioritize the specific training method above, and only add altitude exposure if everything else in your training and preparation is already aligned.
The Big Picture
Success on Mount Shasta is not about pushing harder.
It’s about preparation and managing effort over time.
The climbers who do best are the ones who:
Follow a structured training plan (like my Shasta Summit Training Program)
Plan a smart itinerary
Move at a steady, sustainable pace
Breathe intentionally
Take short, efficient breaks
Fuel consistently and mindfully
For those with less experience, working with a reputable local guide service can make a meaningful difference. A good guide helps manage pacing, monitor how you’re handling the altitude, and coach you through the low points that almost everyone experiences on summit day.
You can’t remove altitude from the equation, but you can control how you prepare for it and respond to it. When you train well, pace appropriately, breathe intentionally, and stay consistent, altitude becomes manageable. That’s the difference between just surviving the climb and moving through it in good style.
If you can stay in control when the going gets tough, you give yourself the best chance for a safe, fun, and successful experience on Mt Shasta.
Want Help Preparing for Shasta
If you want a structured plan that applies these principles to your training, I can help. Check out Shasta Summit Training, a proven training program specifically for Mount Shasta Climbers.
It’s never too early to start.
References
Lundby, C. – Endurance physiology
West, J. B. High-Altitude Medicine and Physiology
Centers for Disease Control and Prevention – High-Altitude Travel
UIAA – Altitude Guidelines
Training for the Uphill Athlete – Johnston & House
Kayser, B. – Nutrition at altitude
Millet, G. P. – Hypoxic training / endurance